The Best DIY Cleaning Products

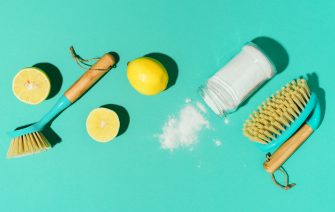
Making your own natural cleaning products could not be simpler.

DIY Cleaning Products Ideas

Vinegar and Water:

For an all-purpose cleaner that clean most things,
combine and then pour into a spray bottle:

  • 1/3 cup distilled water
  • 2/3 cup white vinegar
  • And a little bit of liquid soap

NOTE: not for use on stone as it can dull the surface. This should not be used on Aluminum.

Baking Soda:

Combine baking soda with lemon juice to create a
paste to which when applied and left to stand on burnt or baked on stains, helps remove them.

Hydrogen Peroxide:

Combine baking soda with hydrogen peroxide to create a paste that can be used to clean lots of different things.

Applying the paste to grout, scrub with a brush, then let stand for 20 minutes before rinsing. Apply paste to pots and pans to help remove tough baked on stains.

Castile Soap:

A type of soap made from plant oils which is a good all around cleaner that is non-toxic and biodegradable.

NOTE: Do not combined with any vinegar solutions as it can leave a white residue that is hard to get off.

Floor Cleaner:

Combine in a bucket ¼ cup of white vinegar, 1 tablespoon of Dawn liquid dish soap, and a ¼ cup of washing soda. Add about 2 gallons of warm to hot water to the bucket and you are ready to clean the floors.

Brass Polish:

Squeeze lemon juice onto a sponge and then sprinkle generously with salt. Polish the item by scrubbing with the sponge, then rinse and dry.

Cleaning cutting boards also uses half a lemon which is rubbed over the surface and let it sit for around 10 minutes–sprinkling some salt over the board and then scrubbing adds even more cleaning power.

Copper Polish:

Apply ketchup to a cloth, then sprinkle with salt,
polish and rinse.

Silver Polish:

This is absolutely amazing. Line a sink or bucket with aluminum foil, put silver items on foil. then cover in boiling water, add 1 cup of baking soda and a little salt.

Some of Our Favorites

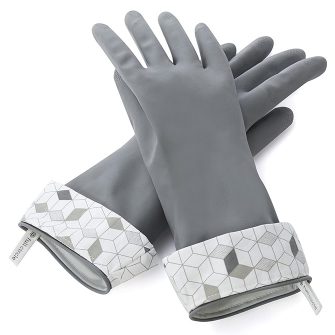
Full CircleLatex Gloves

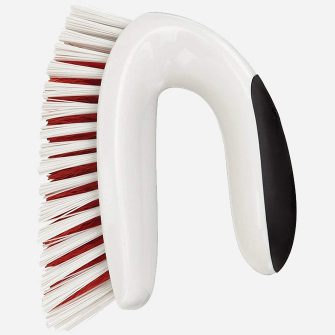
OXOGood Grip Brush

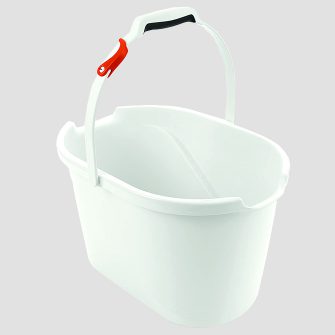
OXOGood Grip Bucket

Your thoughts and ideas

If you have some DIY cleaning ideas we would like to hear about them, share them in the comments section below

Simply the best puree recipes for baby

carrot purees

If you are getting tried of using the same one ingredient purees here are some puree combinations that will help create some variety in your baby’s solid diet.

Cauliflower, tomato, Carrot and Potato Puree

This is a veggie pack puree that is quick and simple

Ingredients:

  • 1/2 Head of Cauliflower
  • 3 Carrots
  • 1 Sweet Potato
  • 1 Tomato

Directions:

Cut the cauliflower into smaller pieces and steam until soft. Fill a sauce pan with water and bring to a boil. Place the tomato carefully into the boiling water for about minute, remove and peel the skin off. Peel the sweet potato and cut into smaller pieces and steam until soft.

Combine all the ingredients into a food processer or baby food maker and puree until smooth.

Spinach, Peas and Apple Puree

This is a healthy and yummy addition to your puree assortment

Ingredients:

  • 2 Apples
  • 1 Cup of Peas
  • A Good Handful of Spinach

Directions:

Cut Steam peas until soft. Peel the apples and cut into slices removing the cores and steam until soft. Steam spinach, it will reduce down considerably.

Combine all the ingredients into a food processer or baby food maker and puree until smooth.

Some of Our Favorites

Full CircleLatex Gloves

OXOGood Grip Brush

OXOGood Grip Bucket

Mango, Carrot and Apple Puree

This puree is really good, you will find yourself sneaking spoonfuls while feeding your baby

Ingredients:

  • 2 Apples
  • 5-6 Carrots
  • 1 Ripe Mango

Directions:

Peel the apples and cut into slices removing the cores and steam until soft. Remove the ends of
the carrots and cut the carrots into small pieces, steam until soft. Peel the mango and then cut
the soft flesh off the core.

Combine all the ingredients into a food processor or baby food maker and puree until smooth.

Celery, Strawberry and Pear Puree

Another really tasty puree

Ingredients:

  • 2 Pears
  • 1 1/2 Cups of Strawberries
  • 6-7 Stalks of Celery

Directions:

Peel the pears and cut into slices removing the cores and steam until soft. Remove the ends of
the celery and cut the celery into small pieces. The celery will require a bit more steaming than
most other vegtables to make sure that they are soft enough to puree.

Combine all the ingredients into a food processer or baby food maker and puree until smooth.

Turkey, and Sweet Potato Puree

Looking to get some protein in your little ones diet, this puree is a great way to do it.

Ingredients:

  • 2 Sweet Potatoes
  • 1/2 Pound of Ground Turkey or Sliced Turkey

Directions:

For ground turkey, season lightly with a little salt and pepper. Then in a frying pan add 2 tablespoons of canola oil and lightly brown the meat. If using sliced turkey, tear into small pieces. Peel the sweet potatoes, cut into small pieces and steam until soft.

Combine all the ingredients into a food processer or baby food maker and puree until smooth.

Kale, Apple and Blackberry Puree

You will find that it hard to tell that it really has kale as an ingredient, its that good. Its a good way to sneak some health greens into your babies diet.

Ingredients:

  • 2 Apples
  • 1 Cup of Blackberries
  • A Good Handful of Kale

Directions:

Peel the apples and cut into slices removing the cores and steam until soft. Steam kale, it will
reduce down considerably.

Combine all the ingredients into a food processor or baby food maker and puree until smooth.

Some of Our Favorites

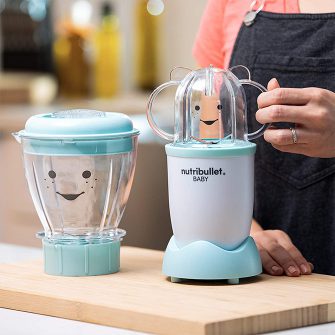
Baby BulletCare System

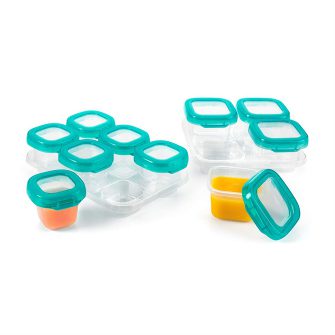
OXOStorage Containers

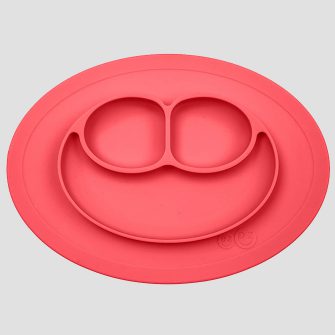
EX PZSilicone Plates

5 Easy Steps For Giving a Sponge Bath to a Newborn

baby in bubble bath

No worries: we have outlined what 5 easy steps so you can handle baby’s first bath like pro.

What You Need

  • A flat surface or changing pad
  • 2 towels
  • 1 wash cloth
  • 1 plastic bowl
  • Warm water
  • Clean diaper
  • Baby clothing
  • Infant soap | shampoo
  • 1 plastic cup

newborn sponge bath step 1

Step 1: Prepare

Spread both towels over a flat surface or changing pad. Then, undress baby while baby is lying on their back. Leave the diaper on (wash that area last). Wrap baby in one of the towels. Prepare bowl of warm water for bathing.

Step 2: Face, Neck, Arms & Legs

With a bowl of warm water and a, small amount of soap, dampen the washcloth and cleanse one area at a time. Start with the face, around the baby’s eyes, nose, ears, and chin. Then re-wet the cloth and move to the neck, arms, legs, between fingers and toes. Be sure to clean all the creases under the arms, behind the ears, around the neck, exposing only those areas that are being washed.

Step 3: Baby’s Bottom

Now it’s time to remove the diaper and wash baby’s belly, bottom, and genitals. Pat dry all areas after you clean them. Avoid getting the umbilical cord wet. Once done recover baby with the towel to keep baby warm.

Step 4: Baby’s Head & Hair

The hair comes toward the end of the bath, so baby doesn’t get cold. You can use a tiny bit of baby shampoo. Cradle the baby’s head in your hand over the bowl of warm water. Use a cup to pour water over the hair area of the head, only to rinse. Then position baby’s back on the flat surface and dry baby’s hair.

Step 4: The Private Parts

When washing girls’ genitalia, always wipe from front to back. If your baby boy is uncircumcised, leave the foreskin alone. If circumcised, don’t wash the head of the penis until it’s healed. Gently pat baby dry. Bath time is over, and your fresh little baby is ready for a clean diaper and clothes!

Some of Our Favorites

Full CircleLatex Gloves

OXOGood Grip Brush

OXOGood Grip Bucket

Tips on protecting your baby from SID’s

Things to know about putting your baby to sleep safely and preventing SIDS. The risk factors include having items in the baby’s crib, the baby’s sleeping position, or the baby having underlying physical issues.

Back Sleeping is the Safest

To reduce the risk of sudden infant death syndrome, the safest sleep position for babies is ALWAYS on their backs.

Tips to Help Reduce the Risk of SIDS:

  1. No Bumpers
    Prevent suffocation risk by not usinga bumper in cribs
  2. No Smoking
    Second hand smokes increases the risk of SIDS for babies
  3. Firm Mattress
    Make sure the crib mattress is firm
  4. Stomach Sleeping
    Always put baby to sleep on their back
  5. Don’t over heat baby
    Keep room temperature between 68°-72° and don’t over dress baby
  6. Nothing in the crib
    Keep plush toys and blankets out of the crib.
  7. Fitted Sheets
    Make sure sheets are tightly fitted to the mattress, not be loose
  8. Vaccinations
    Make sure your baby is up-to-date with vaccines
  9. Breastfeeding
    It has been found that breastfeeding your baby can lower the risk
  10. Sleeping in the same room
    Sleeping in the same room as the parents–not co-sleep
  11. Use a Pacifier
    Putting baby to sleep with a pacifier reduces the risk of SIDS

Some of Our Favorites

Full CircleLatex Gloves

OXOGood Grip Brush

OXOGood Grip Bucket

Packing the Perfect Diaper Bag

Packing a Diaper Bag

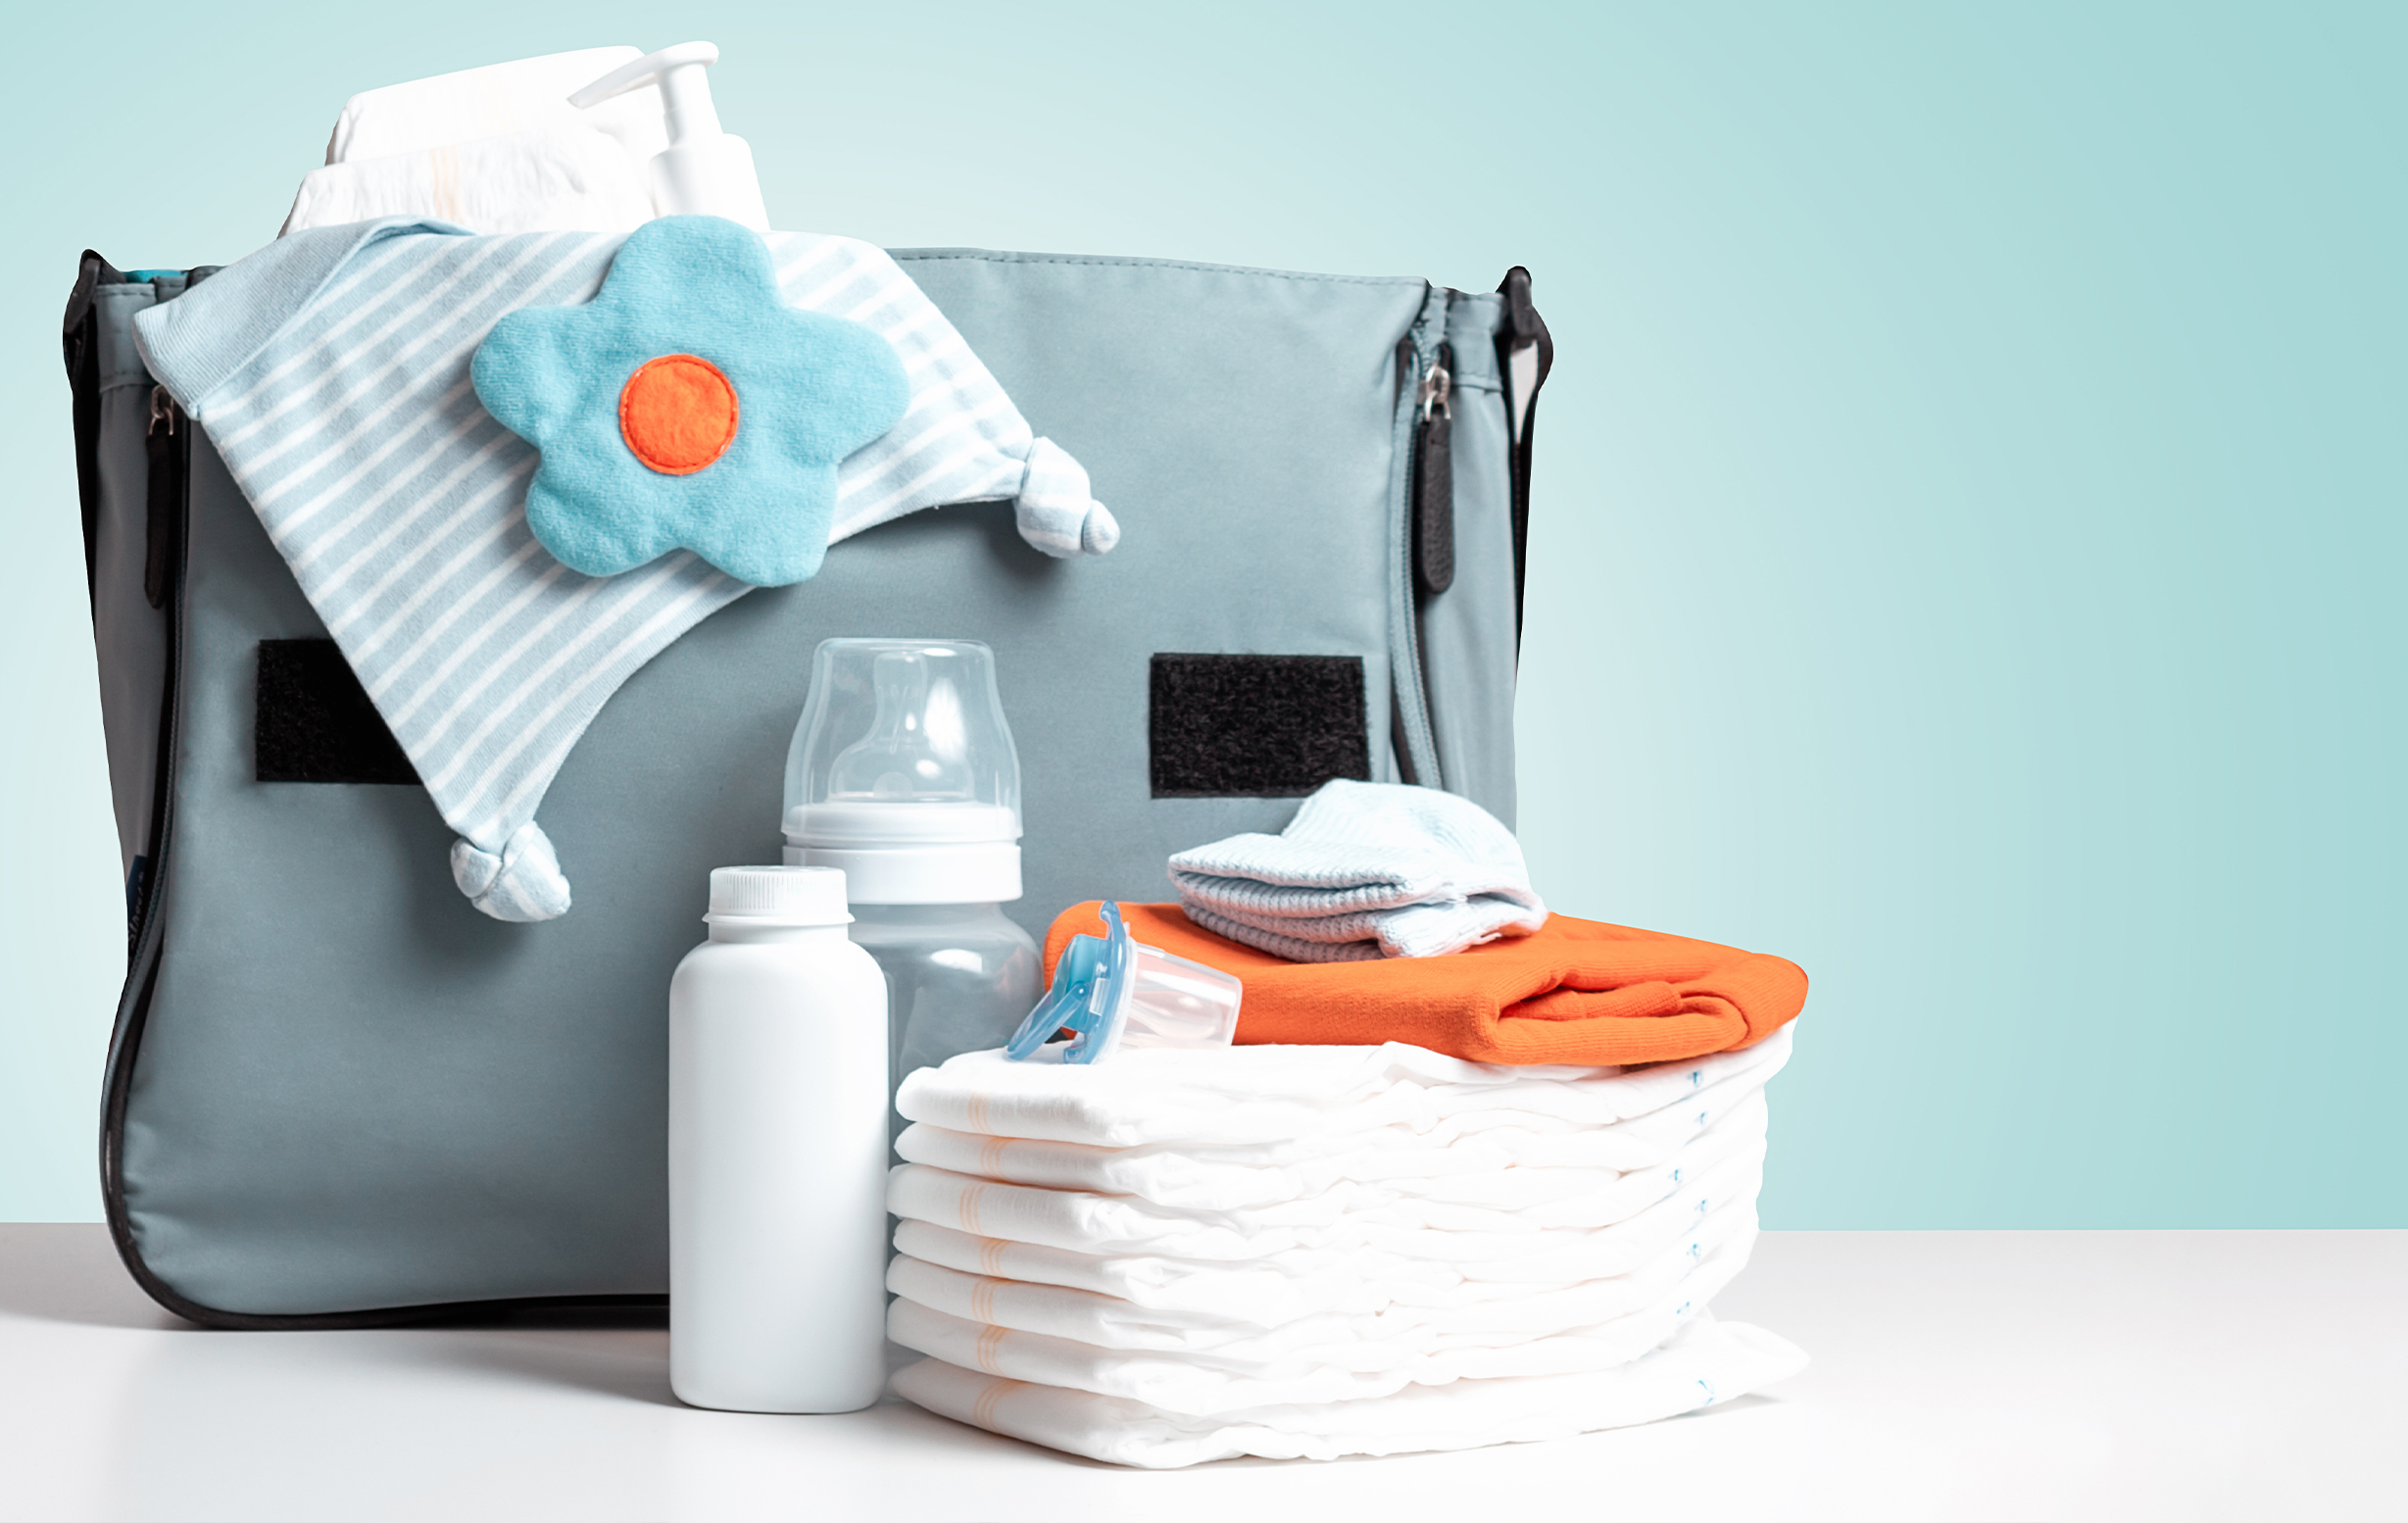
As a parent you quickly learn that being prepared and thinking ahead is key to having things run smoothly. Having a well packed diaper bag is a life saver. The exact items in your bag will depend on baby’s age, how long you will be out and your own preferences.

The Diaper Bag Essential List

Everything you will need to pack when you and your little one go mobile.

The List

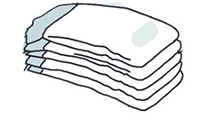
  • 2-3diapersdiapers
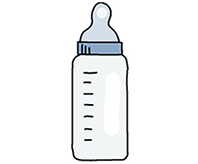
  • 1bottle of milkbottle of milk
  • 2snackssnacks
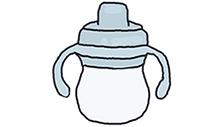
  • 1sippy cup watersippy cup water
  • 1portable changing padportable changing pad
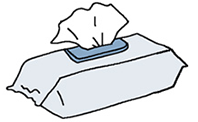
  • 1pack of disposable wipespack of disposable wipes
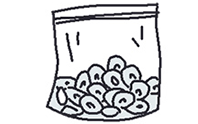
  • 2-3plastic bagsplastic bags
  • 1diaper rash ointmentdiaper rash ointment
  • 1bib | burping clothbib | burping cloth
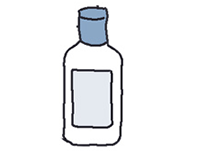
  • 1hand sanitizerhand sanitizer
  • 1baby personal care kit (nail clipper, comb, emery board)baby personal care kit (nail clipper, comb, emery board)
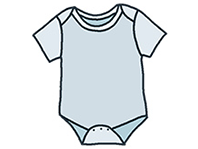
  • 1change of clothes for babychange of clothes for baby
  • 1hat for babyhat for baby
  • 2-3baby toysbaby toys
  • 1pacifierpacifier
  • 1sunscreensunscreen
  • 1blanketblanket
  • 1emergency informationemergency information
  • 1first-aid kitfirst-aid kit
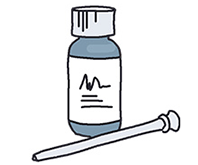
  • 1baby Tylenol or ibuprofenbaby Tylenol or ibuprofen
  • 1change of shirt and pantschange of shirt and pants
  • 1teething ring (if teething)teething ring (if teething)

If Breastfeeding

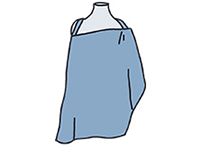
  • 1nursing covernursing cover
  • 4breast padsbreast pads

FREE DOWNLOAD

The Diaper Bag Essentials List

You can have a checklist handy so when you are taking your show on the road you won’t forget a thing

Get the Checklist

Additional Considerations

No matter hard you try somethings that just will not fit in your diaper bag. This is when a Diaper Caddy for your car is something to consider.

DIAPER CADDY

Just like a diaper caddy for your changing table a diaper caddy for your car makes it much easier by keeping everything you might need organized and on hand. In some ways it is like a back-up diaper bag as you should have almost everything in your diaper bag repeated here but there are some other things to add.

Additional things for the diaper caddy:

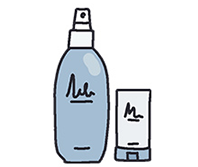
  • Spray Cleaner & Paper towels
  • Extra clothing & shoes
  • Water
  • Throw Blanket
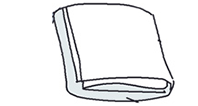
  • Towel
  • Nonperishable snacks
  • Umbrella for rain or sun
  • Swim Diapers
  • Baby plate and untenils
  • Litte storage containers
  • Trash Bag
  • Pen & Paper

Some of Our Favorites

Full CircleLatex Gloves

OXOGood Grip Brush

OXOGood Grip Bucket

We would love to hear if there is something special you pack in your diaper bag or what is your must have diaper bag product.

The 3 Top Bottle Feeding Positions & Techniques

Whether you are exclusively bottle feeding or doing a combination with breastfeeding there are a few bottle feeding techniques to know.

3 Top Positions for Bottle Feeding

Position 1: Cradle Hold

This is the standard method for holding a baby while feeding. Place the baby’s head and body in the crook of your arm and wrap your hand around under your baby’s bottom. Then, lift your elbow slightly to bring baby to an inclined position, with baby’s head higher than baby’s body.

As your baby grows and becomes more active, baby’s flailing arms start getting in the way. There is a technique for getting them under control while using the cradle hold. I call it the tuck technique.

Position 2: Lap Feeding

Sit down with your legs up and bent at the knees. Place baby with her back against your thighs, facing you, resting their head against your knees. Baby’s feet and legs rest on your stomach.

Position 3: Upright Feeding

This position is for older babies who have a bit more body control. You sit them up on your lap and let their body rest against your chest or inside your arm. The upright feeding position is helpful for babies who are dealing with acid reflux or gas.

Some of Our Favorites

Full CircleLatex Gloves

OXOGood Grip Brush

OXOGood Grip Bucket

Cradle Hold – Tuck Technique

Getting control of those crazy little arms

Step #1:

While holding the baby cradled in your arms, tuck the baby’s arm that is against your chest between the gap under your armpit. Arm number one taken care of.

Step #2:

Using the hand not holding the bottle, continue to cradle the baby but also hold the baby’s exposed hand/arm. You now control baby’s other arm.

free

Grab Your Nursery Safe Cheat Sheet

Stop worrying about baby safety with our Free Essential Nursery Safe Must Haves List

Get Your Free ListNo, thanks!